A skylight has quickly become the hottest new feature in newly built homes. They offer an increased overall value (equity) of your home, and they can solve specific issues in stuffy, cold, or dark rooms. The most significant benefit of skylights is how they let natural light into your space. Some can open, allowing fresh air to fill the home. You may be wondering, after reading all these wonderful benefits, how do you install one in your home?
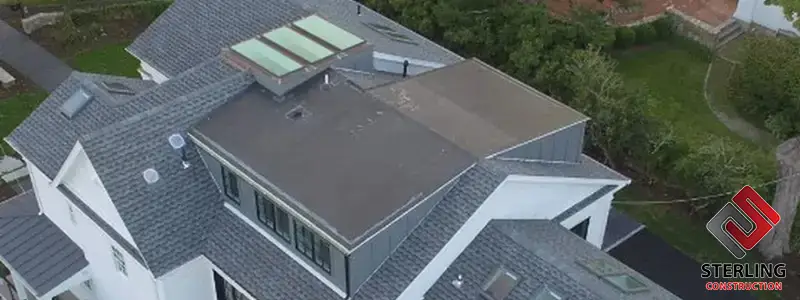
The first step to adding a skylight is placement. It is important to consider the sun’s path when it comes to installation. Skylights on the south- or west-facing portion of the roof will collect direct sun—skylights facing north or east may not get any direct sunlight. If you place the skylight on the south/west side of the roof, you will also want to take the amount of heat the direct sunlight will add to your home.
A skylight requires you to cut into your roof, which is a challenging procedures. Getting in touch with your roofing contractor is essential. They will have the tools and knowledge to do it correctly. Don’t risk doing it wrong, or your home could suffer further damage.
After your skylight has been installed, there are a few things you should watch out for. The first is leaks. Leaks are often from flashing. Inferior material, improper installation, or damage to flashing are all reasons your flashing may end up allowing leaks to occur. If your skylight is glass, it is important to watch for cracks. Shatter-resistant plastic is less susceptible to cracks and breaks, and is lightweight and more cost-effective. You should have your skylight checked at least once a year to avoid these issues.
Skylights can be a great addition to any home. See if a skylight is what your home is missing by calling Sterling Construction today.